Receiving an Email
An incoming email will appear as an incoming phone call. Click Answer to receive.
The queue name for the incoming call will display in the Call Info field. The call will not have any audio, meaning the user will not be talking with anyone. The call is simply a "phantom" call used to queue the email in the Avaya Phone system using skills based routing.
It's important the user does not hang up the "phantom" call until they are done working the email. This ensures they will receive proper reporting on their time spent working the email interaction.

Queue name for incoming call displays in the Call Info field (Classic view)

Queue name for incoming call displays in the Call Info field (Flex view)
Upon answering, the email arrives in the Agent’s Inbox and automatically opens the main Email screen.
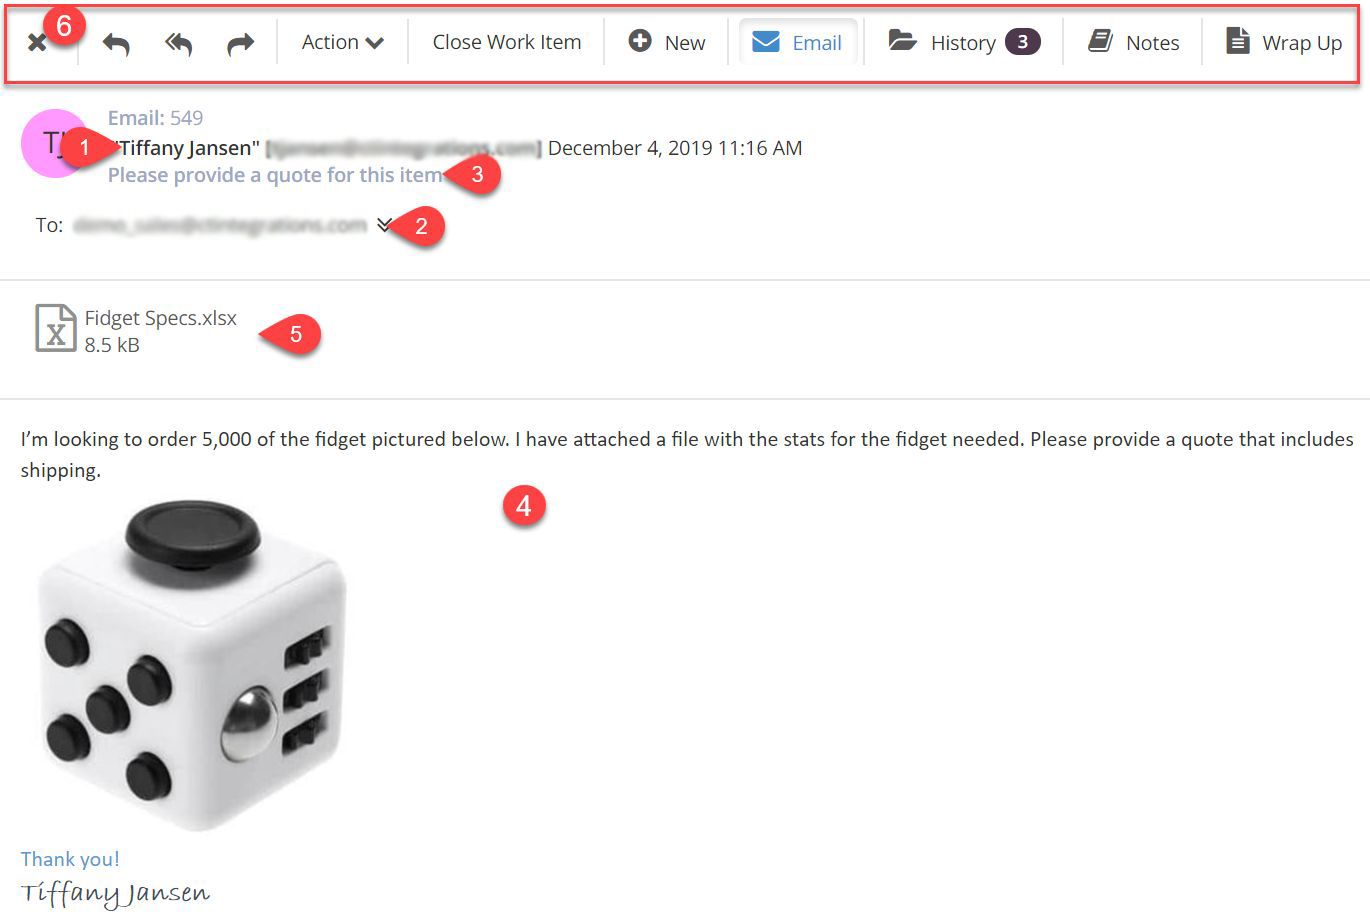
- From: This is the mailbox the email was sent from
- To: This is the email address(s) the email was sent to
- Subject: This is the subject of the email
- Body: This is the body of the email
- Attachments: This is where attachments will appear if included on the incoming email. To download an email attachment, hover over the file name and select the paperclip icon.
- Reading Pane Toolbar: This contains the buttons that allow you to take action on the incoming email
Responding to an email
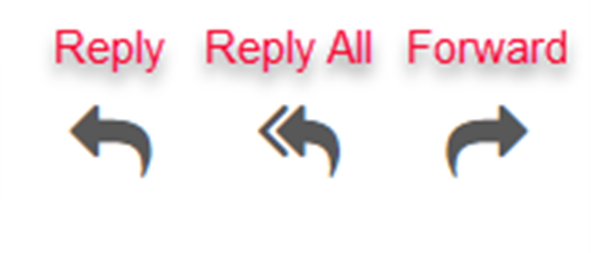
To respond to an email, use the appropriate button to begin a reply, reply all or forward email.
If you are using either reply option, the TO and/or CC field(s) will automatically populate with the parties who were included on the email you are responding to. You may add additional parties by typing their email address(es) in either the TO, CC or BCC fields.
If you are forwarding the email, you will need to fill in the TO field with your recipient email address(es).
CC/BCC
If you do not see the CC or BCC fields, click here to expand them.

Templates
When filling in the body of an email, you can choose a predefined response. These "templates" can be created with common verbiage, and can include embedded images and/or attachments.
To view the available templates, click the templates button
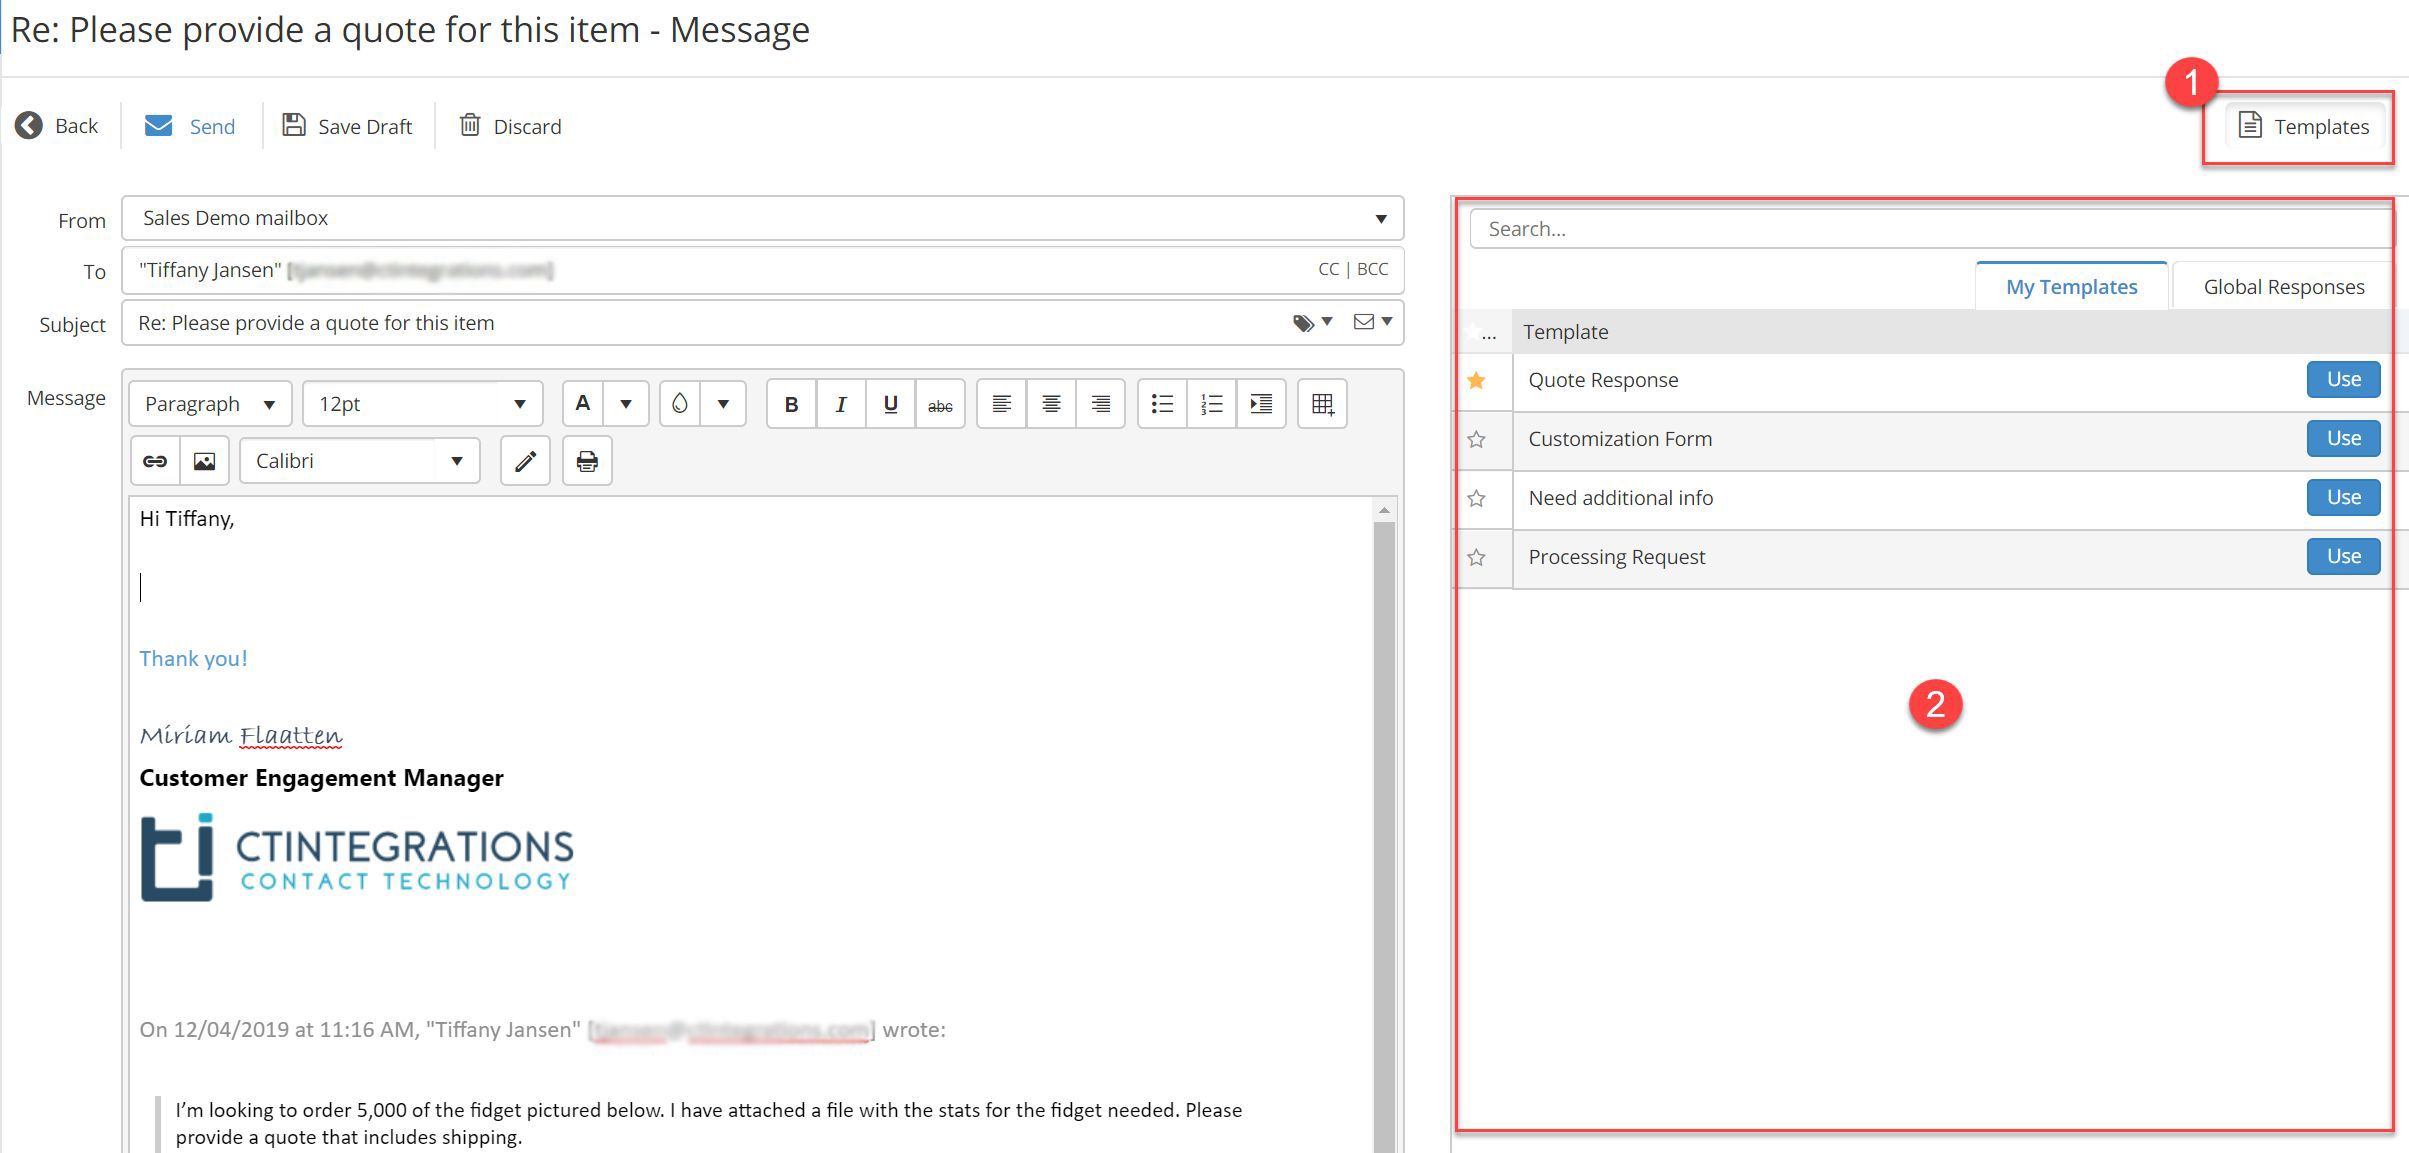
To enter a template message into an email reply, select the Use button that corresponds with the desired template name.
To view a template before inserting into the body of the email, simply click the template name. Users can also edit the template text in the pop up window before inserting into the email body. Click the Use button when you are ready to insert the text into the email. You can also edit the template verbiage after it has been inserted into the email body.
Templates are sorted by default in alphabetical order. Users can create "favorites" within the My Templates section by clicking the star icon
Tagging an Email
The Agent will be able to tag an email with pre-defined text when sending emails. The tags are created by an administrator and made available to the agent by clicking the tag icon in the subject field. The tag selected from the drop-down list will be inserted into the subject line of the email, see image below.
The purpose of this feature is to provide the recipient with the ability to organize and or apply rules to their email inbox.

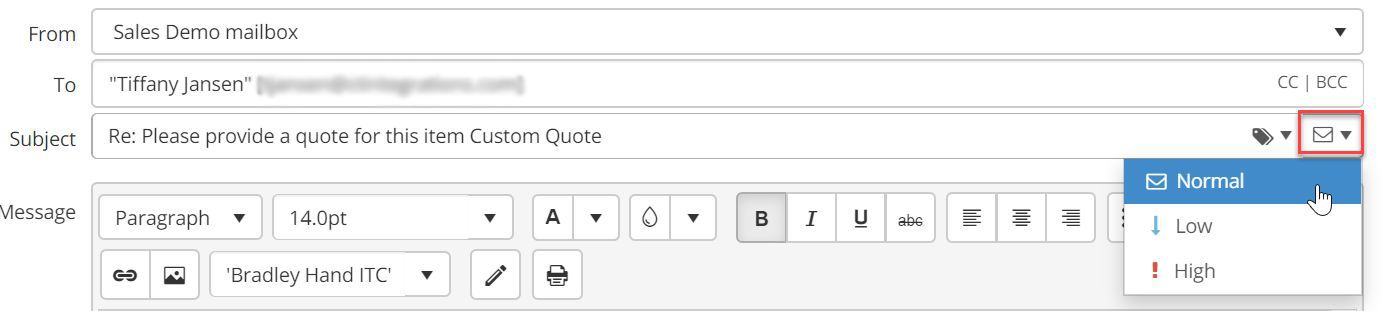
Email Priority
Agents can choose to set a priority indicator when sending emails. Click the Priority button in the subject field and select from the drop-down list.
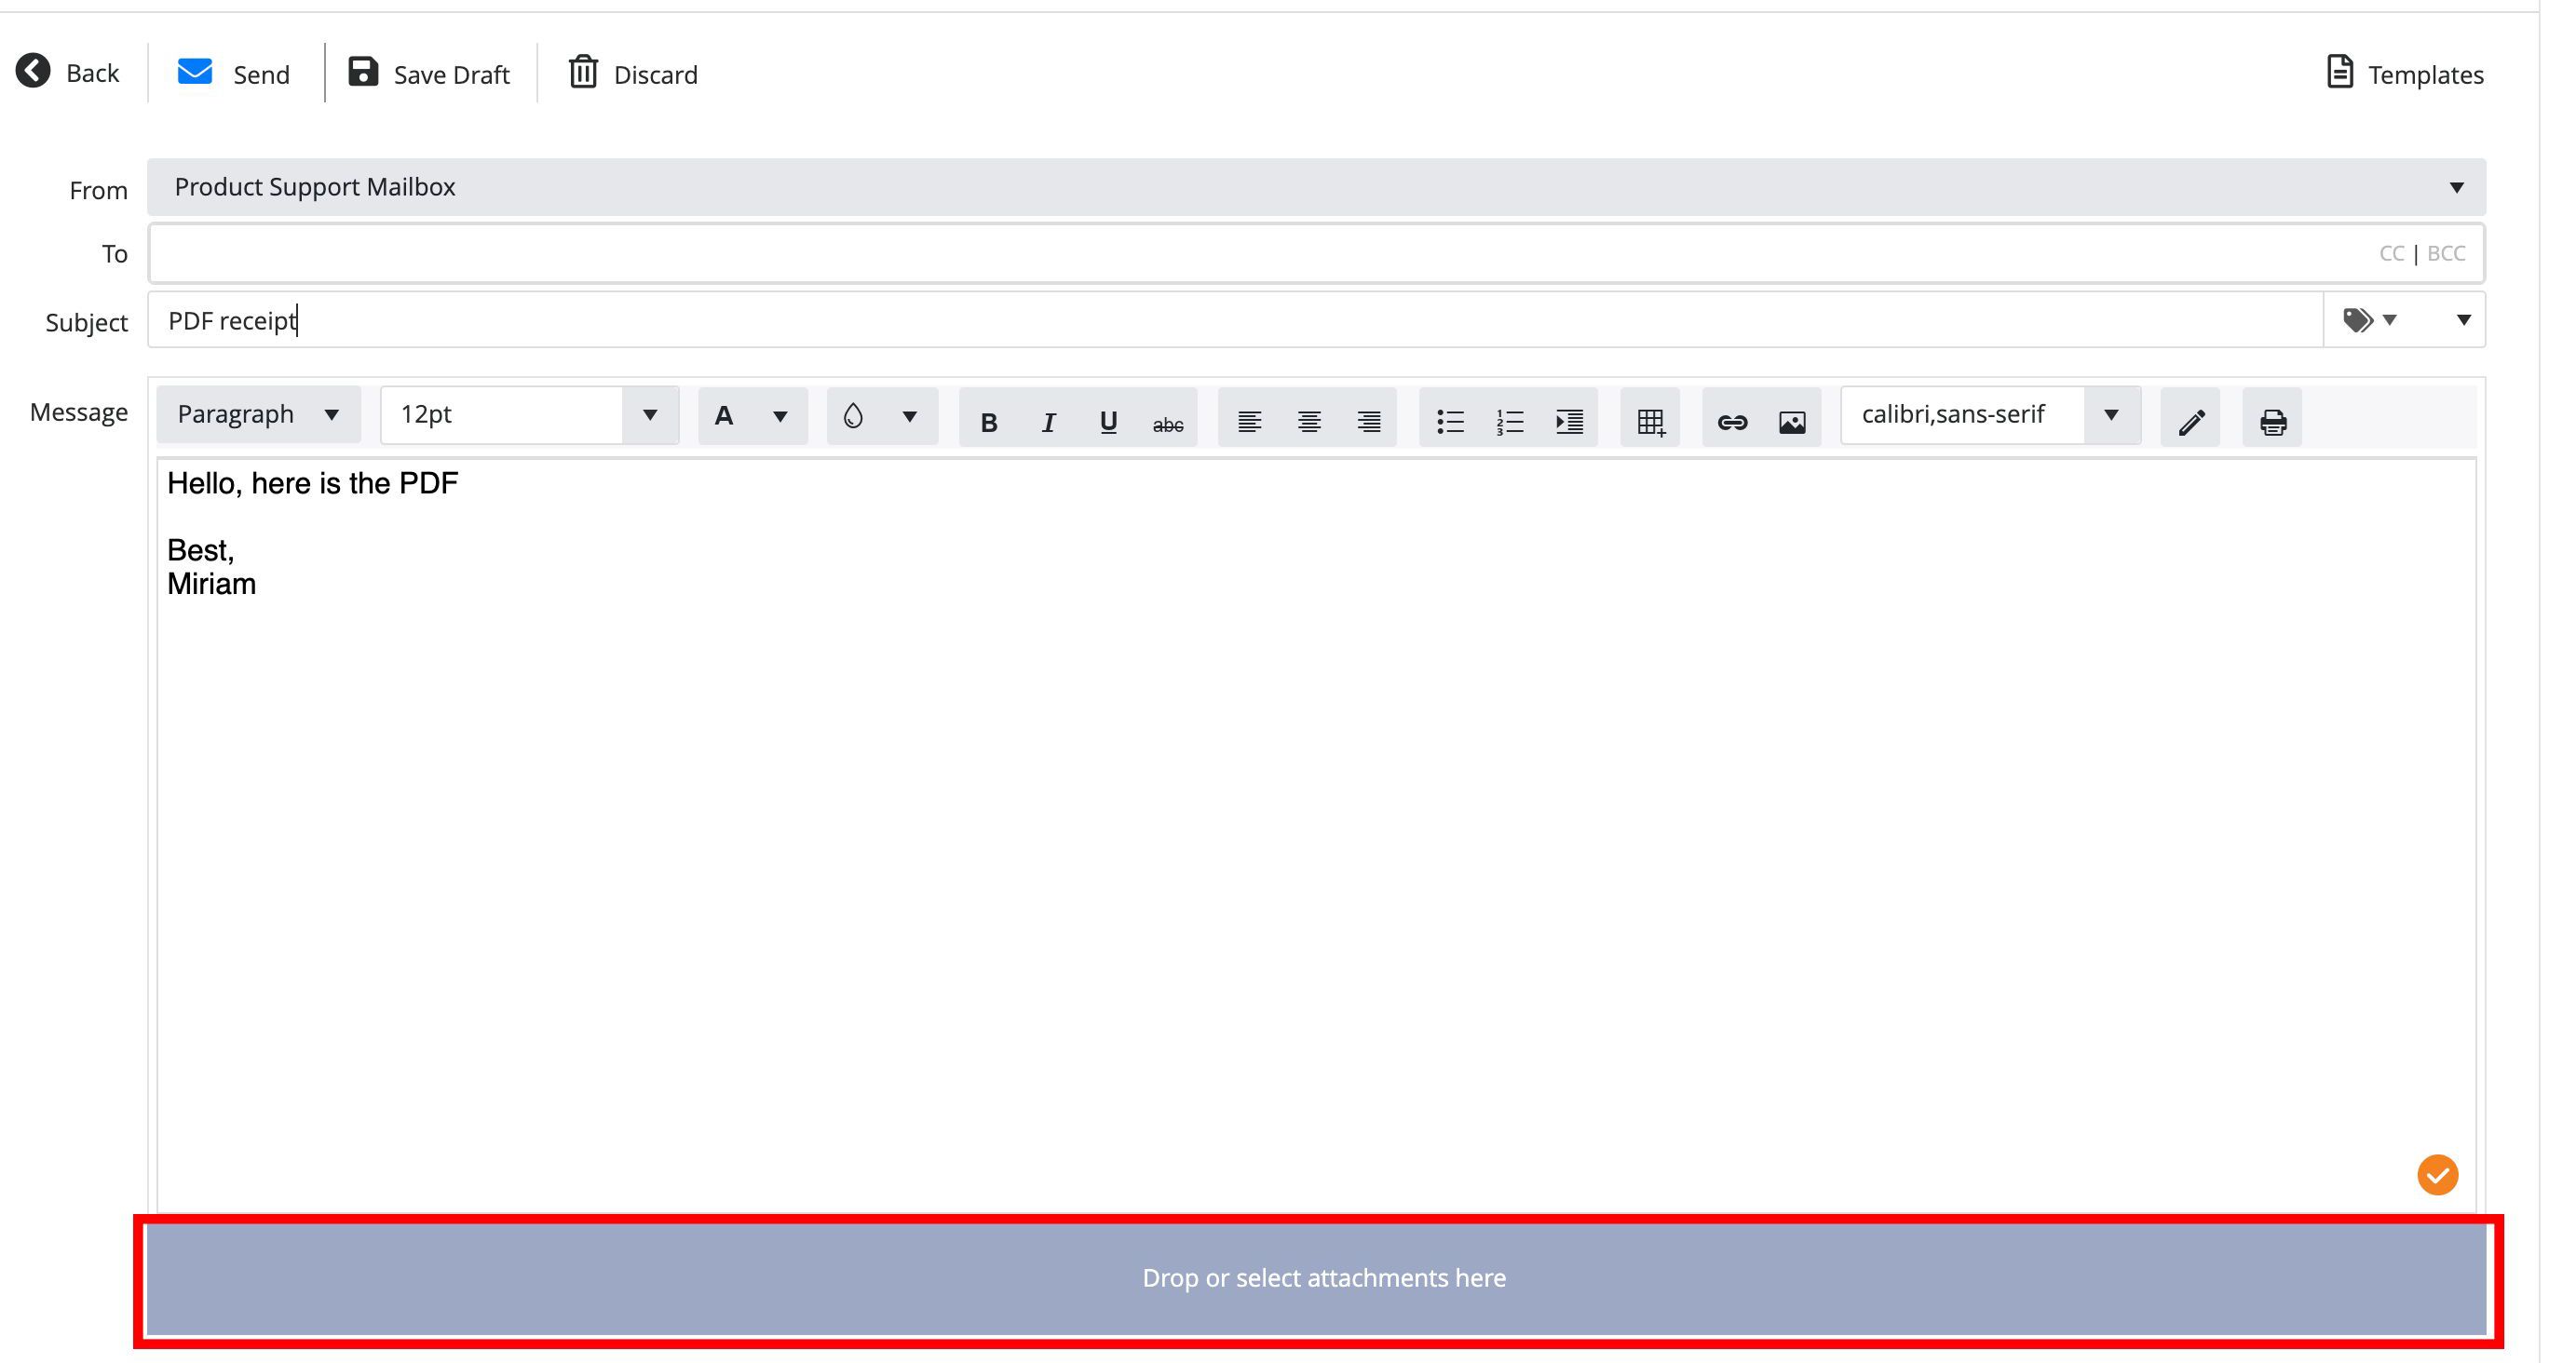
Adding an Attachment
To add an attachment to an email, the agent can either drag the attachment to the blue bar or click on the blue bar and a file finder will appear where a file can be selected to upload. Once uploaded, the files can be removed from the email by clicking the X next to the file name in the blue bar.